Comprehensive Pick-N-Pluck Foam Setup Tutorial | Nanuk 933 Case + Aquatech Elite Water Housing
Let's see if I can muck this up again. So a couple of weeks ago I try to set up a brand new Pick-N-Pluck Foam case, I’ve never done this before and I completely messed it up.
Now, before I went to try and do this I watched a couple of Youtube videos and this Youtube videos gave good advice or so I thought at the time. So I follow that advice and just about everything that could have gone wrong went wrong and so instead of publishing that video, I decided to redo it and hopefully I can save you some mistakes and save you some money.
So in this video, I show you how to setup pick-n-pluck foam, hopefully, the right way and also tell you about some of the stuff that I learned along the way - like things to do and things not to do. Without further ado, let’s hop to it.
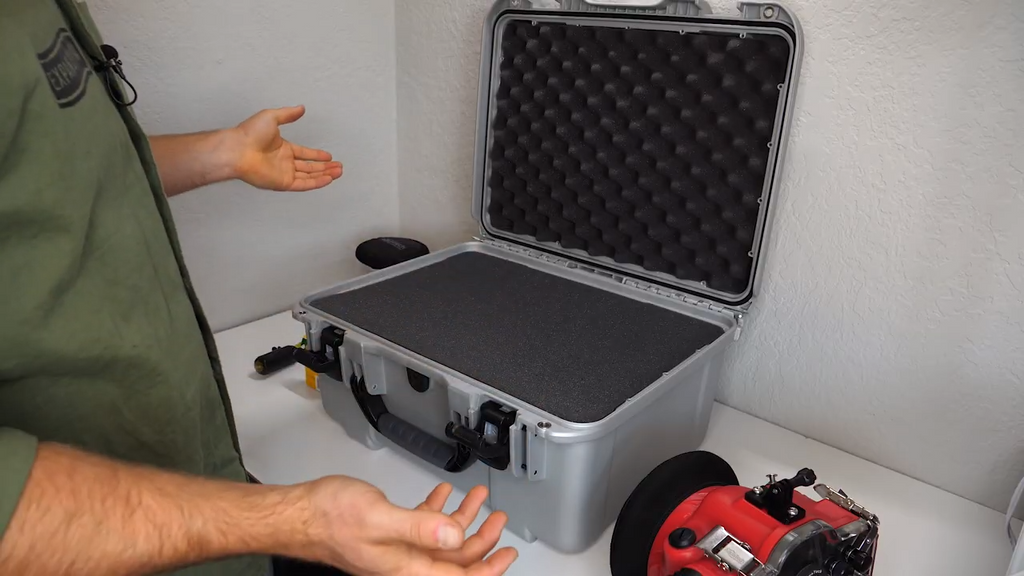
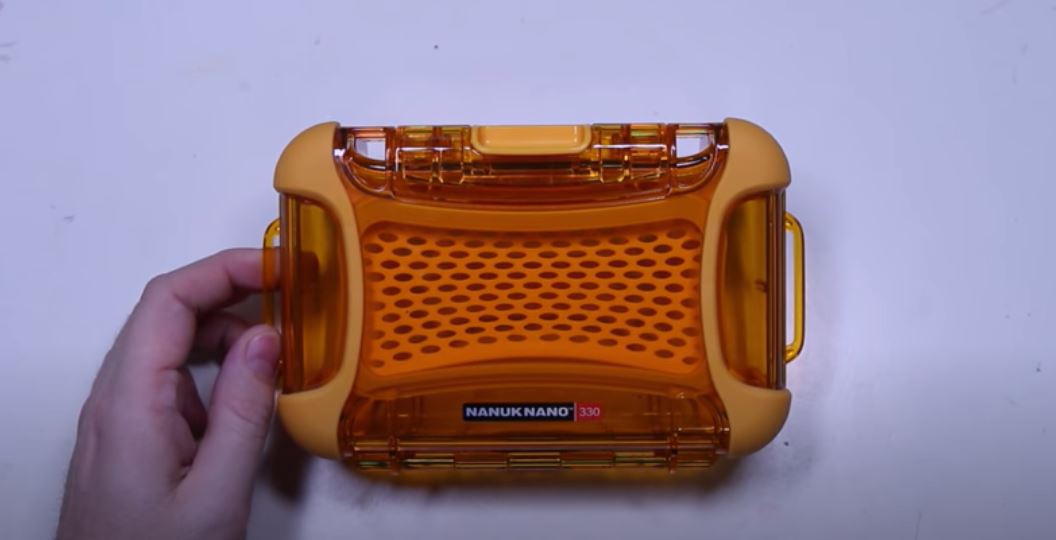
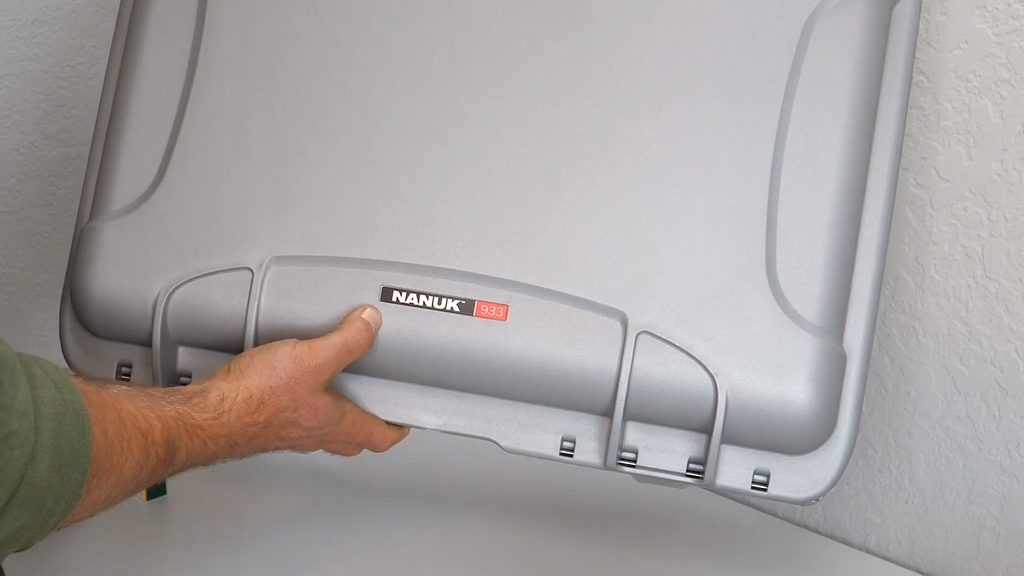
So, just real quick, today I will be working with the Nanuk 933 case. I like Nanuk products, I’ve been using them and testing them first hand and so I know they keep my gear safe.
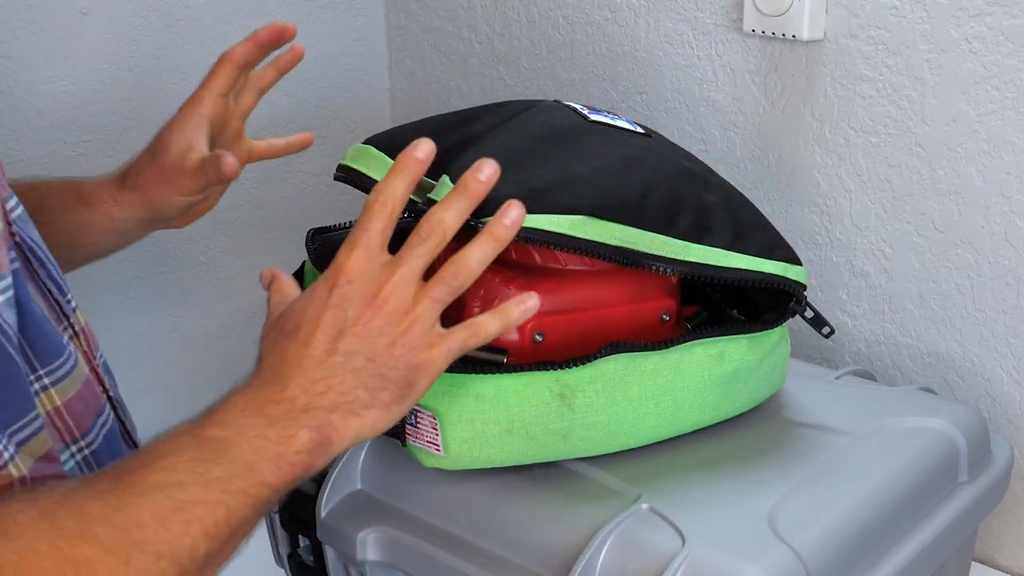
And so I just Nanuk every time. If you are going to set up a different case, no problem, it’ll probably still work because pick-n-pluck foam, I believe is all the same. What we’re gonna be protecting today is this underwater housing that's made by Aquatech.
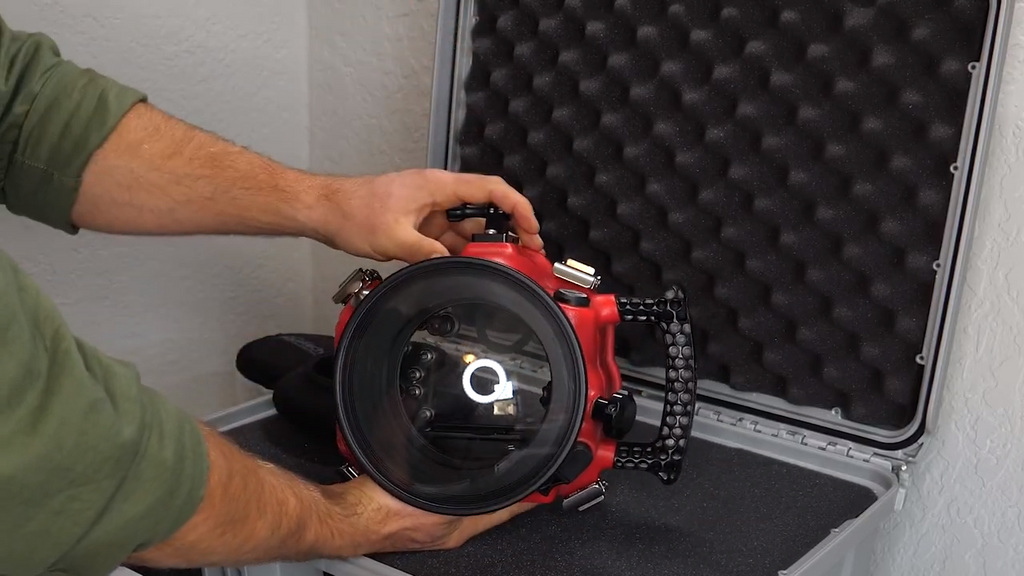
This is an underwater housing that fits my Panasonic GH5 camera and as you can see, there’s a lot of reasons to protect this thing. First of all, it has this big, beautiful lens cover that's made out a glass, glass that I don't want to scratch. And then on the back that you got some clear plastic, I don’t want to scratch that either otherwise,e I won't be able to see my camera settings.
So whereas before I used to keep this in kind of a crappy a padded dive case. I'm going to seriously upgrade my safety game and hopefully set this thing upright so that my gear will be safe and not only that but I'm hoping that can set it up in such a way that it will be easier and faster the work from.
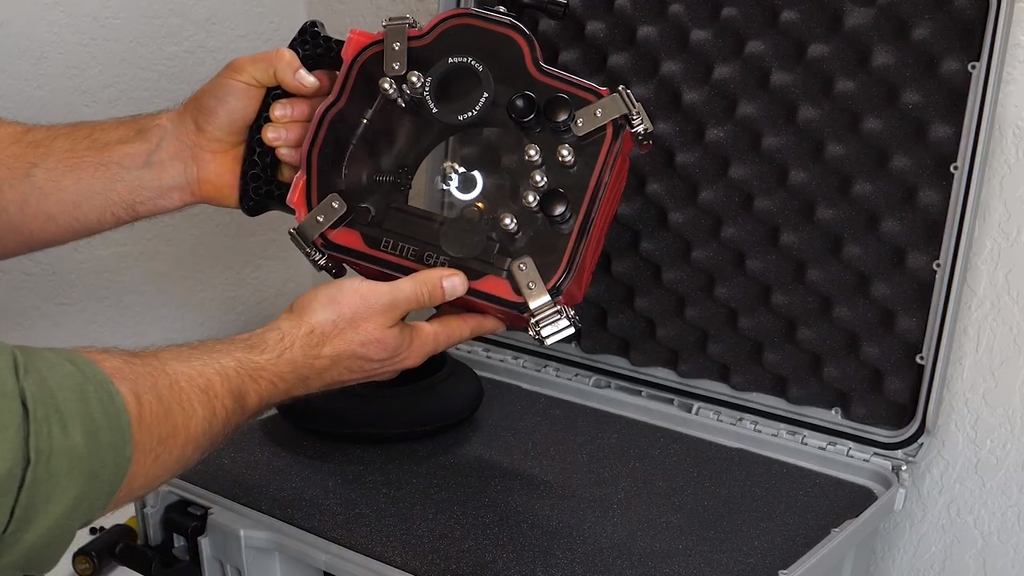
And I’ll show you exactly what I mean, I'll just cover the lens up so I don't scratch it in the setup process. So as you can see in this Aquatech elite underwater housing has four beefy latches that you have to undo before you can slide your camera in or out and unfortunately because human beings only have two hands there's no good way to do that while simultaneously holding your camera.
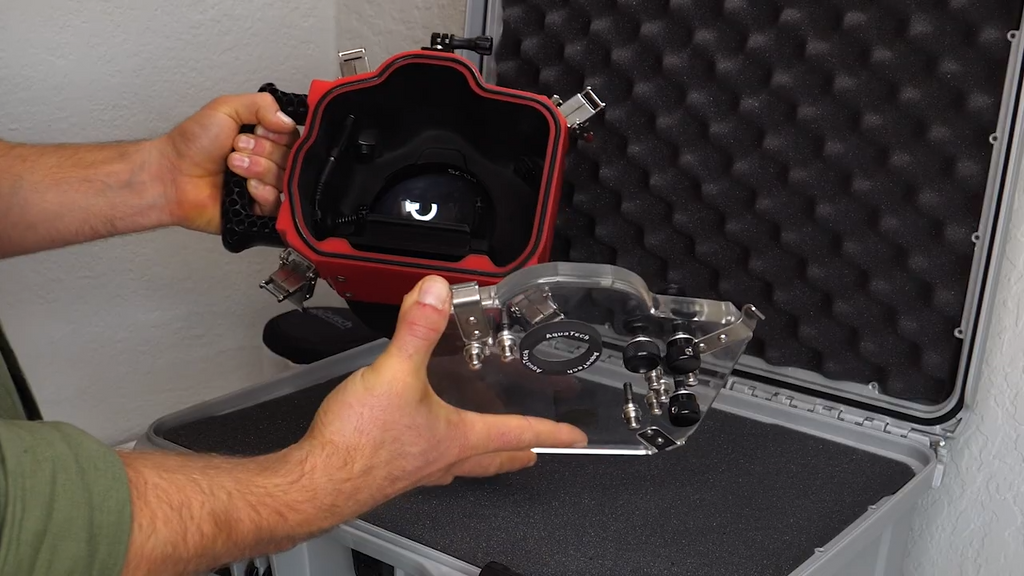
So what ends up happening is I take the back off then I have to rest this thing in my knees or somehow figure out a way to situate it so that I can slide the camera in or pull it out.
Unfortunately, I don’t like doing that because on this side, you have a very fragile lens and there’s just a lot of room for damaging that lens, that lens cover rather.

So my idea for this Nanuk case is to arrange in such a way that the underwater housing is situated just like this so I can take my camera in, pull it out, I’m essentially doing it hands-free because this thing is safely resting in the case. And so that's the hope, that's the dream. And also when I'm shooting for in this video.
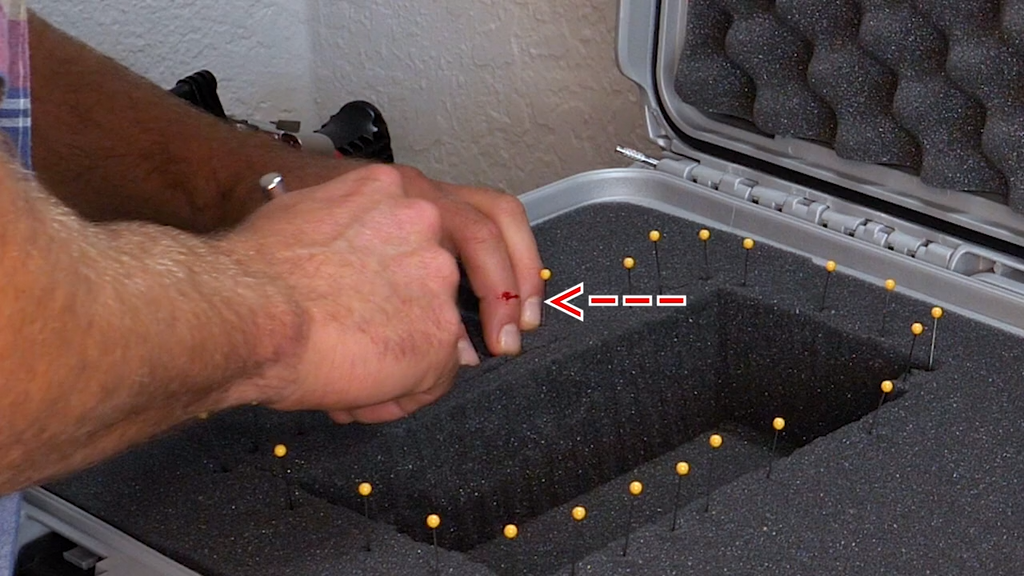
So in my previous attempt, I watch some videos and they recommended some tools, things like sewing pins so that you can mark out what the object that you're trying to pull and pluck around. Some videos recommend chalk and other videos recommended like an Exacto knife or sharp knife to help separate the phone pieces.

In theory, all of these tools sounded great and practice they didn't work great. I cut myself at the exacto knife literally stabbed myself in the finger; the sewing pins were prickly ended up pricking myself a couple of times and I also discovered that while it is helpful to use pins to identify your object, as soon as you lift the object down I found myself second-guessing my markings a lot.
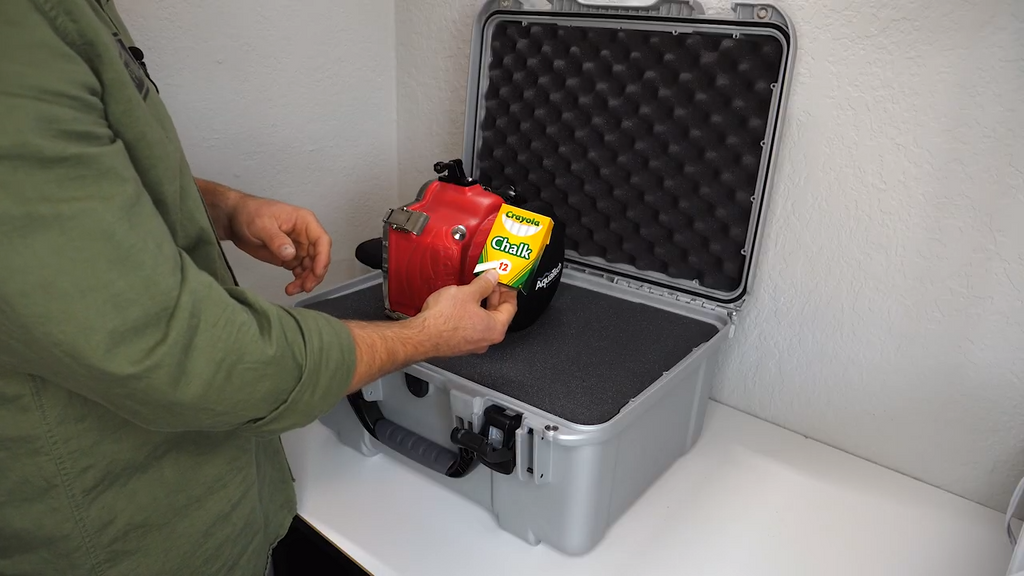
So the only tool you’re gonna need for this, other than the case itself, is you’re going to need your fingers and you're also going to need some chalk, that doesn’t have to be a Crayola chalk, it could be any chalk.

This is just what I had on hand so that's what I'm sticking with. And you’re gonna use, oops, you’re gonna use chalk because chalk washes off and also really easy to mark on this thing without really damaging anything or gunking it up because this case is bigger than my underwater housing.
Ideally, I'm going to be able to stick not just the housing in it but also couple lens ports, maybe some more accessories and that's what I'm going to attempt to do in this video. We’re going to do the underwater housing first because that's the most important piece of gear that we want to protect and then if anything else fits that's just a bonus.
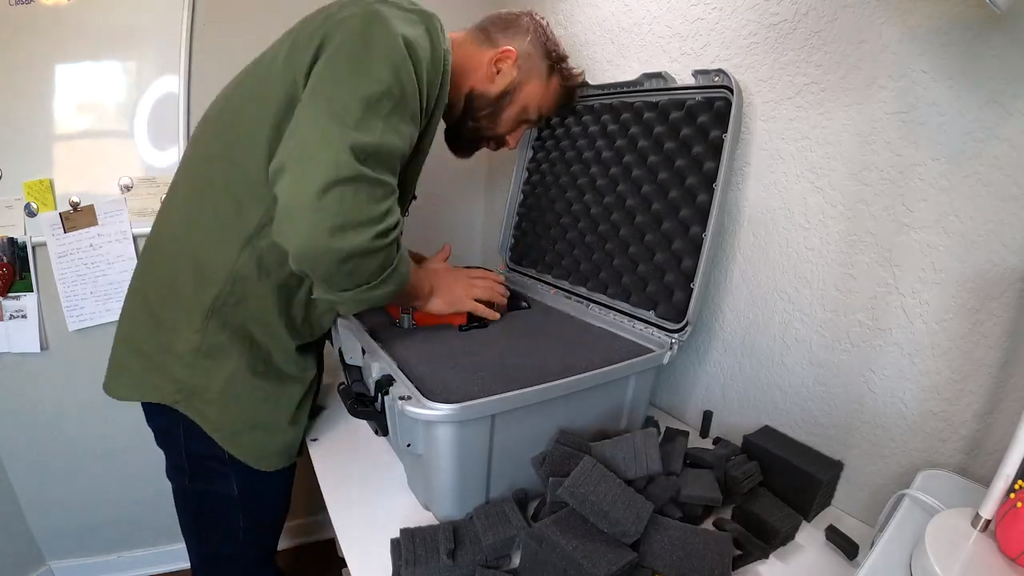
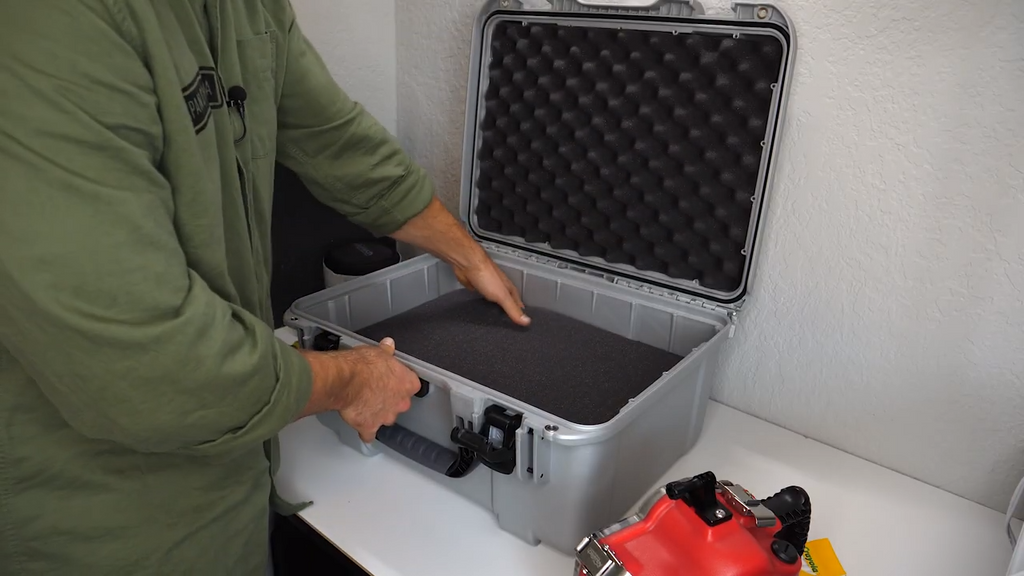
First, before you do any of this you want to make sure that your gear actually fits in the case. So we're gonna pull all the foam out and we’re gonna make sure that the case can even accommodate, depth and width-wise, what we’re trying to protect right because if the shoe doesn't fit, why even put it on your foot?
So it looks like this way, it fits just fine. Let’s see if it fits, this way perfect. It fits both ways so it should work. That’s tip number one - make sure that your gear fits.
Tip number two is that these cases, not Nanuk specifically but these waterproof cases generally are not a hundred percent square and so you might get several pieces of padding because the case itself isn't square, you want to make sure that you put the padding in, in the correct order otherwise, it's going to be a little bit wonky.
So measure a couple of times, make sure that they fit in as intended but there are no big gaps because again the object is to protect your gear as best as possible and gaps don't really help in that endeavor.
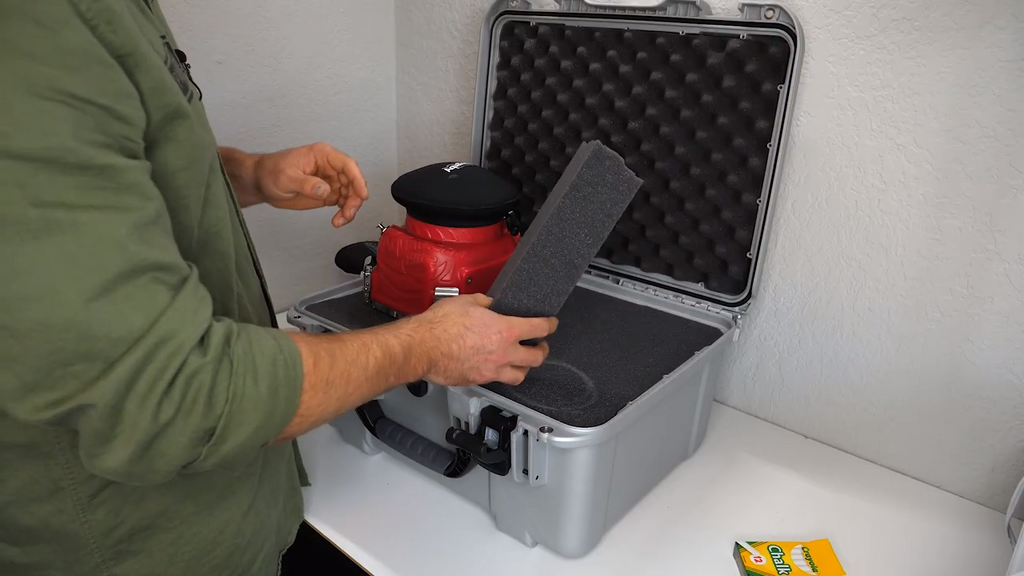
Tip number 3 is you want to leave at least two foam squares so that your gear is adequately protected. So you don't want to go all the way up to the edge of the phone and what I mean by that is this - here's some foam for my last failed attempt and you can see real quick that it pulls apart quite easily just with your hands you don't need to cut it it's actually cleaner if you don't cut it.
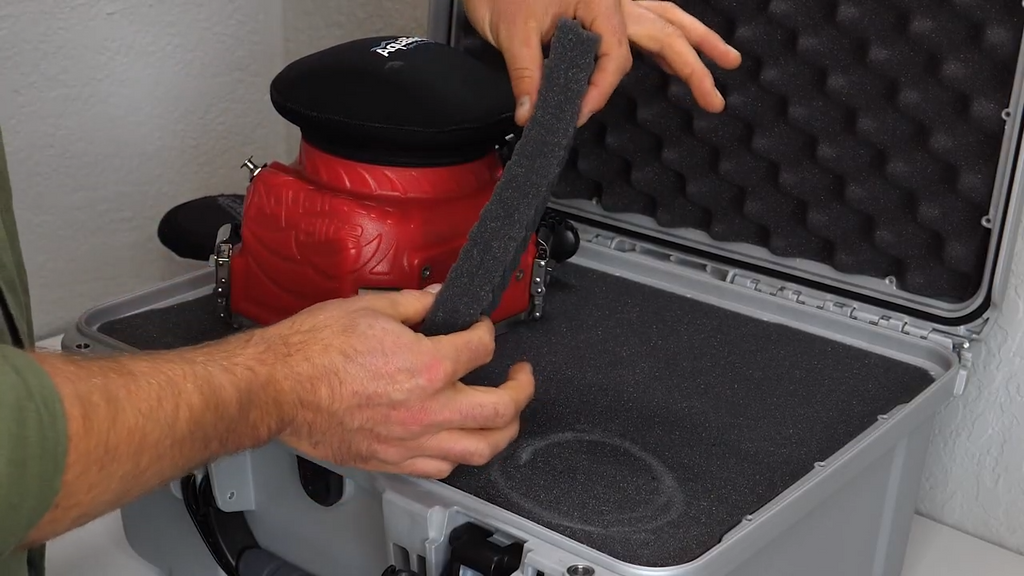
But back to my previous point is that you want to leave at least two sections of cubes along every edge for protection cause if you just leave one that don't really do much. Alright. That’s not a whole lot of protection especially if you’re going to be traveling or flying with your gear and this thing might get clumped around so try and leave two maybe even three sections of foam between every edge so that you know your gears protected.
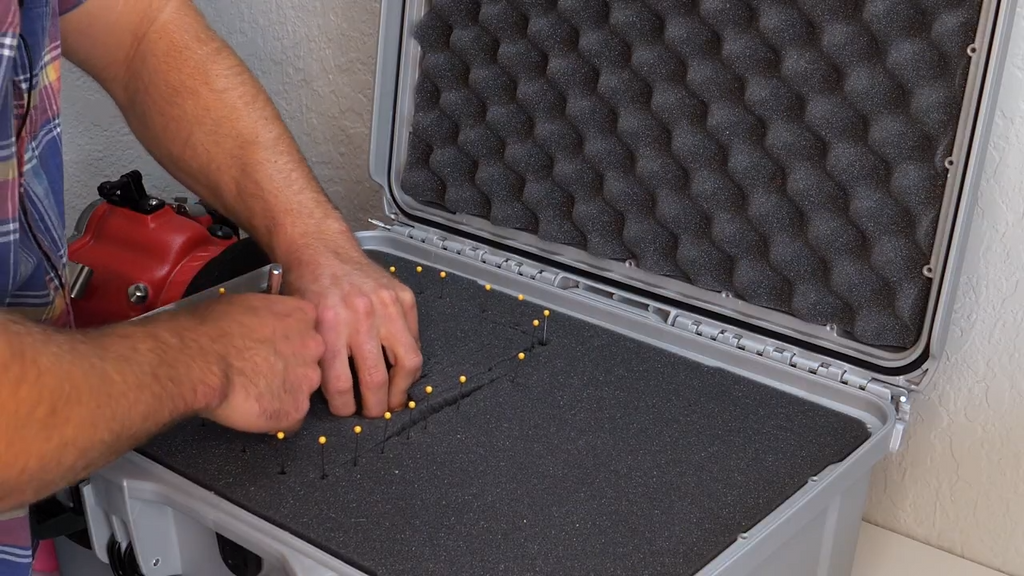
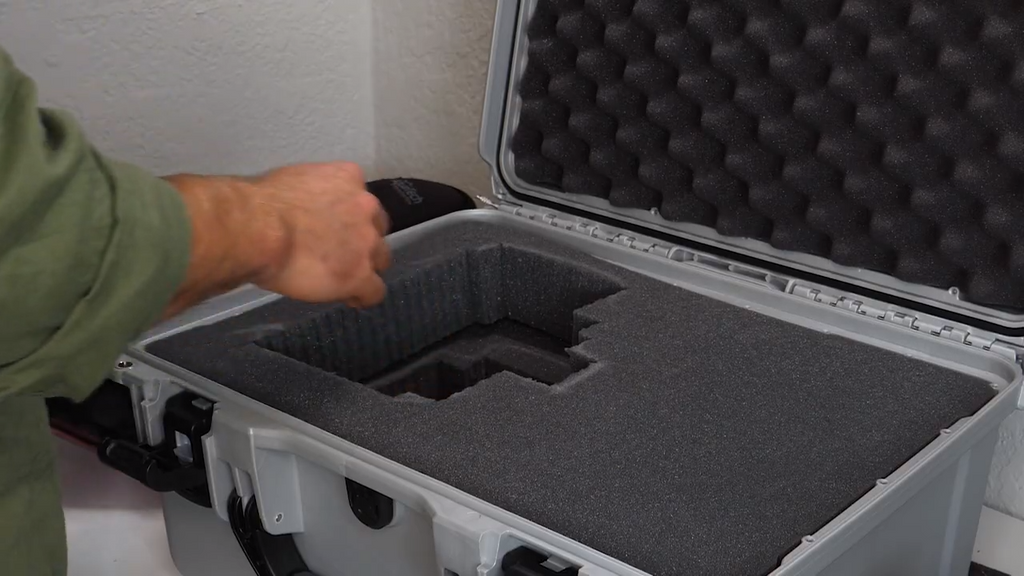
Now comes the tricky part because this underwater housing isn't square or circle, has many different levels, the easiest way to trace it is on its back, right? So I'm just going to take my chalk and I'm going to trace it. But I want this housing to be positioned this way which means the handle is going to be in a different position, this GoPro mount is going to be in a different position.
And so essentially I have to give myself a rough estimate of the box - the overall shape of this thing and then I’m going to flip it and try to accommodate it as best as possible. Does that make sense? So, I’m going to take my chalk and I'm just going to start marking and I’m going to try and just traced this thing as best as possible.
And this just gives me some rough guidelines of approximately how much foam I'm going to need to take out. You can see that's roughly how big the housing is going to be and then also trying to make it smaller than you think it's going to be because you can always take pieces away but you can't really put it back so start with a smaller hole, make it bigger.
Don't start with the big hole and then freak out, make it smaller cause I already did that - I wasted a bunch of money and time as I don't recommend that.pe of the object you want to put in here you're just going to take your fingers and just start pulling the foam apart and it’s literally that simple.
And the first time you’re going to do this it's going to be a little intimidating but if you do it with confidence it's going to be better, I promise. Then if you do it without so just go for it.
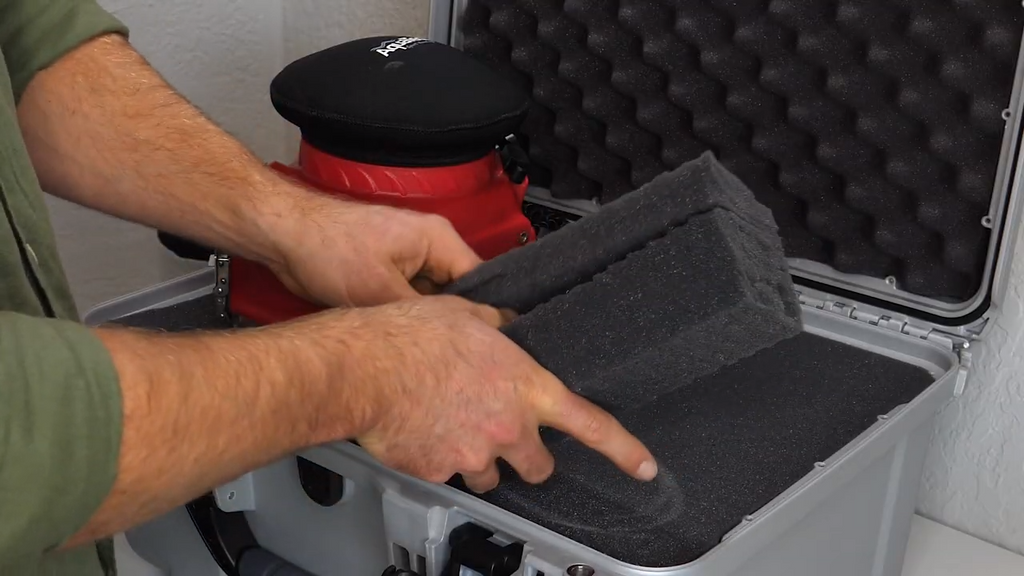
And what I like to do is I’d like to make little blocks, pull those blocks out and then work. You know, keep working after the blocks are out because once you pull the initial pieces out, it’s much easier to work, so. If that made no sense whatsoever this is what I call a block.

So the very first time that you go to rip out cubes, it’s hard, harder, it’s not hard but then every additional section to pull out is much easier. So, that’s kind of like another pro-tip. And then measure as many times as you need because obviously because the goal is to get your gear as safe as possible.
So, keep ongoing. Let me go about there. You can always come to grab your chalk, keep going. The foam actually pulls out really easily, it’s surprising how easy it pulls out and how clean it pulls out. I don’t know if this is a Nanuk specific or if all foam does it but I’m very impressed.
I thought it would be worse. So, that’s kind of our initial hole looks like we’re almost there. That’s looking pretty good and then we also kind of want to accommodate for this GoPro mount, maybe we’ll do that when we go deeper. So, we’ll just leave it there because again it’s easier to take away than add. So, we’re not gonna take away too much.
And at this point, you can see that layer one is done and so now we’re gonna work on layer two. And again, this underwater housing has all sorts of different levels and edges so it’s not going to really reflect perfectly in the foam but that doesn’t matter because as long as it’s securely in there, it’s going to be protected. So, what I’m gonna do now is I’m just gonna trace the second layer of foam based on the first layer of foam.
So, that’ll kind of give me an idea of what parts I’m pulling out on the next layer down, does that makes sense? So, I took that, traced and I got that. Sort of looks like underwater housing, I think. And then on that, again I’m going to start pulling out my initial section because everything after that point will be much, much easier.
And it is kind of easier when you do it inside the thing because it gives you some boundaries within to work, so if you can’t see this as well, I apologize. Every once in a while you want to put your initial piece back in and measure – that’s starting to look really nice but we’re gonna keep going.
So, then you’re gonna notice where the housing starts to rub and you want to make note of those areas with your chalk because that means you need to pull the foam out from those places. Right there, right there. So this thing, in effect, happens in stages and that’s okay.
So you’re gonna go back and forth a lot, each time your housing is gonna fit a little bit better and you’re gonna use your chalk to keep adding on – you don’t really know what to do to that yet, probably just want to make a box because if I were to try and trace it with a square by square, it probably would never last, so. Official decision – box. Nice.
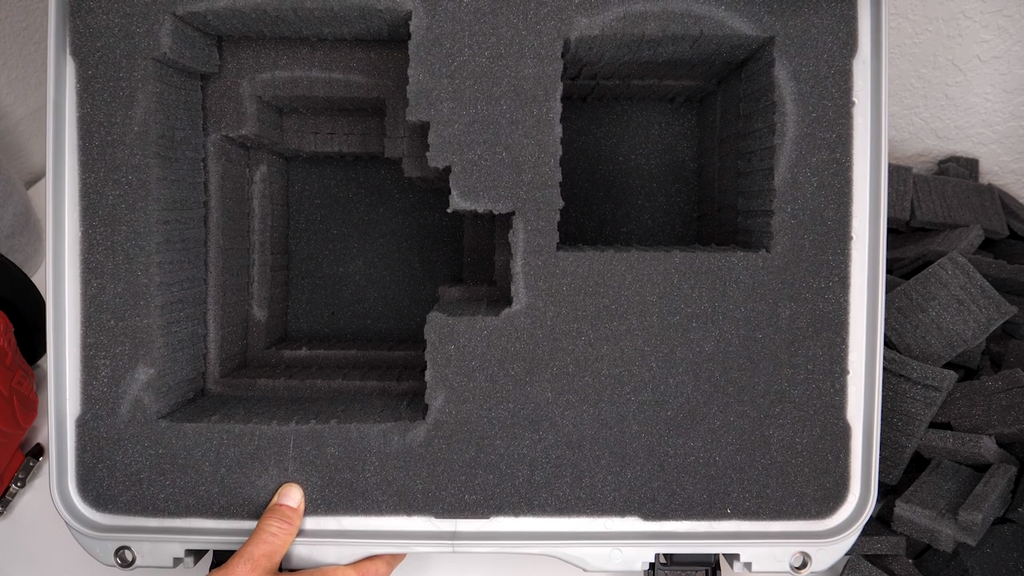
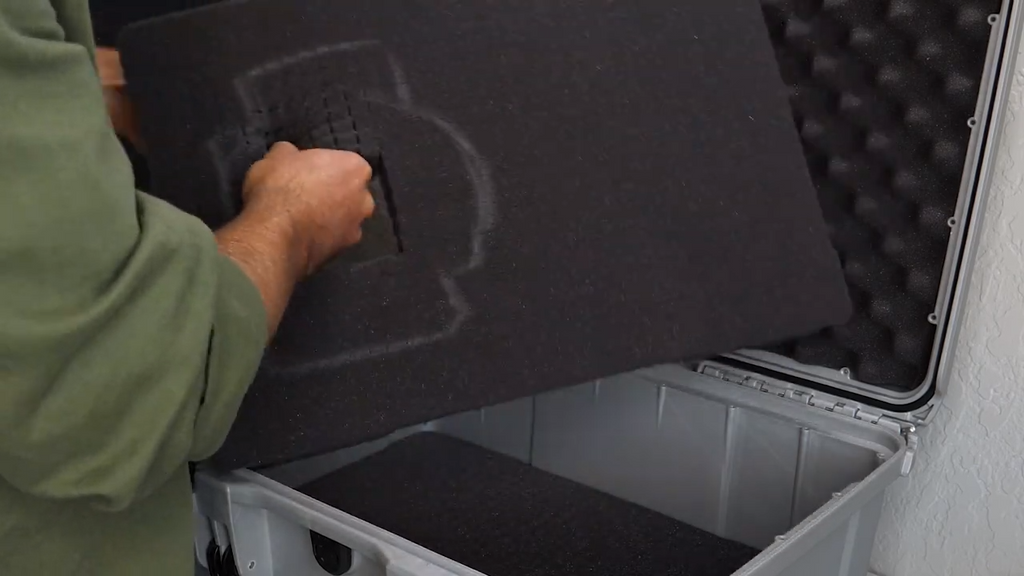
That’s looking good. Alright, re-measure. Okay, so now we’re ready to start marking the third layer so as you can see, our two layers are starting to look like so and there’s a third layer of foam in there that we’re gonna put the other two on top and we’re gonna mark with chalk to try to start pulling foam off the third layer.
So, we have our little chalk. Once again, we’re gonna mark and this hole is going to be even smaller than the previous two because, as I said, you can always take away but you can’t add.
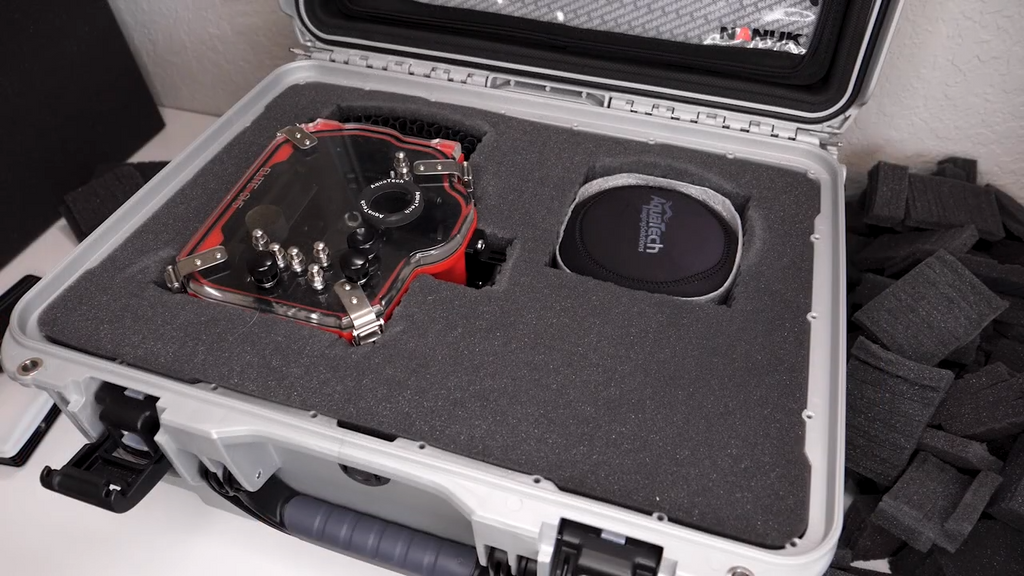
That looks about as perfect as I can get it. Now, obviously this foam wasn’t molded specifically for this thing. This is kind of like a round beveled piece of equipment and this is square cube foam. So, you’re only gonna get it, you know, you only get it pretty close but you’re not going to get it a hundred percent.
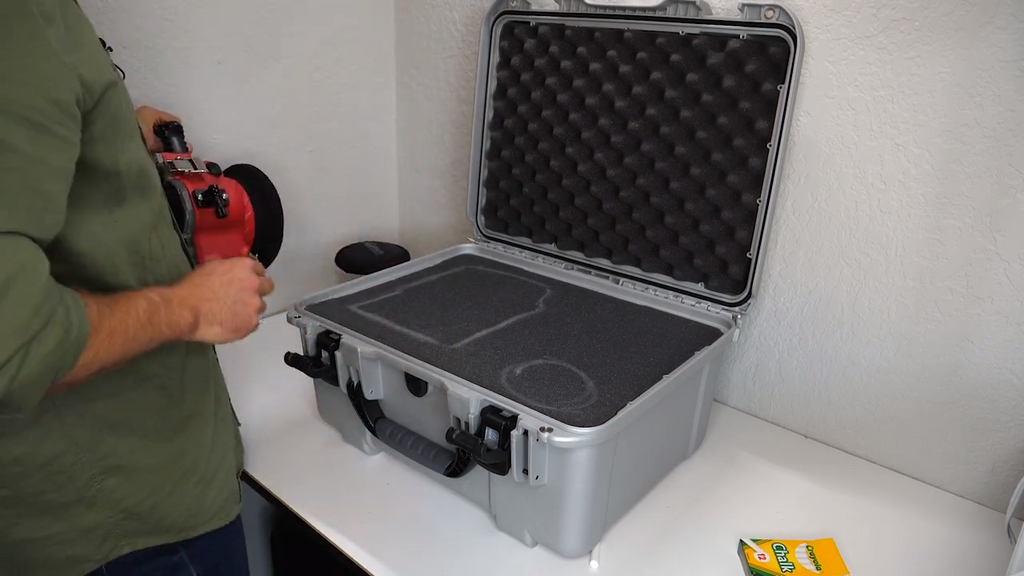
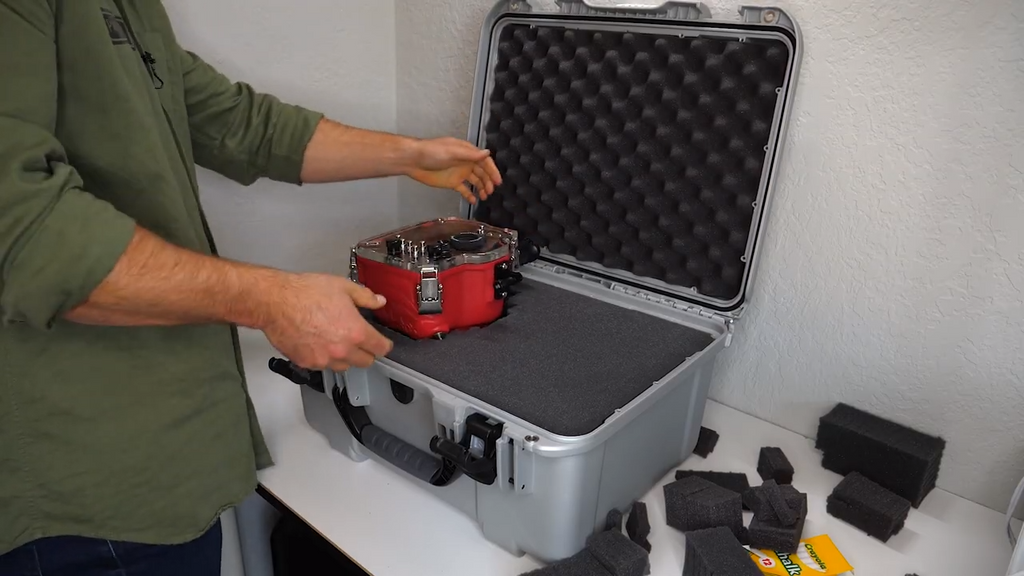
That being said, your gear is going to be protected, much more protected than if it were not in this case. And then you want to make sure that it seals. If it doesn’t seal, you didn’t go far enough down – you have to pull more foam. Great!
And as I mentioned before, I’m gonna have to test this, of course, but in theory, now when I go to load my camera, I don’t have to worry about scratching the front of this port, the front of this underwater housing. I could just load it in and out and so I have an effect, not only protected at travel but I’ve also protected it while setting things up. That just tickles me, I love that. And I still have some room to spare with, I have an area to work with.
Now, Aquatech, makes lots of different accessories for their underwater housing and one of the things that they do is they make more different shaped lens port, so you can use different types of lens configurations when you’re shooting underwater.
And so, I want to protect this lens port in here as well again you want to make sure that there are at least two cubes of foam between every edge. So, you want to leave at least that much there. You also want to leave at least that much there. Alright, so you don’t want to bring this thing right up to the edge, you want to leave some room.
Since I have lots of room to work with, I might leave myself a little extra and again I’m gonna come along with my chalk and I’m gonna draw a nice circle. And then I’m gonna start pulling foam again. And then we have that, but look we have more room here. What are we gonna put there? Maybe, just maybe, we can put a couple dive lights in here.
These are lighter pros, there are really nice, bright lights that I’ve reviewed extensively on this channel. These are actually my favorite on-camera lights for land, sea, and air. I don’t want to digress too much but if you’re interested in these, I’ll link them up below.
They’re called lighter lights and so I may end up putting two of them in here, somehow, so that they’ll always be ready to go. This will kind of be like my go-bag but I’m not really sure about it yet so I’m gonna leave that space blank until I’m a hundred percent sure.
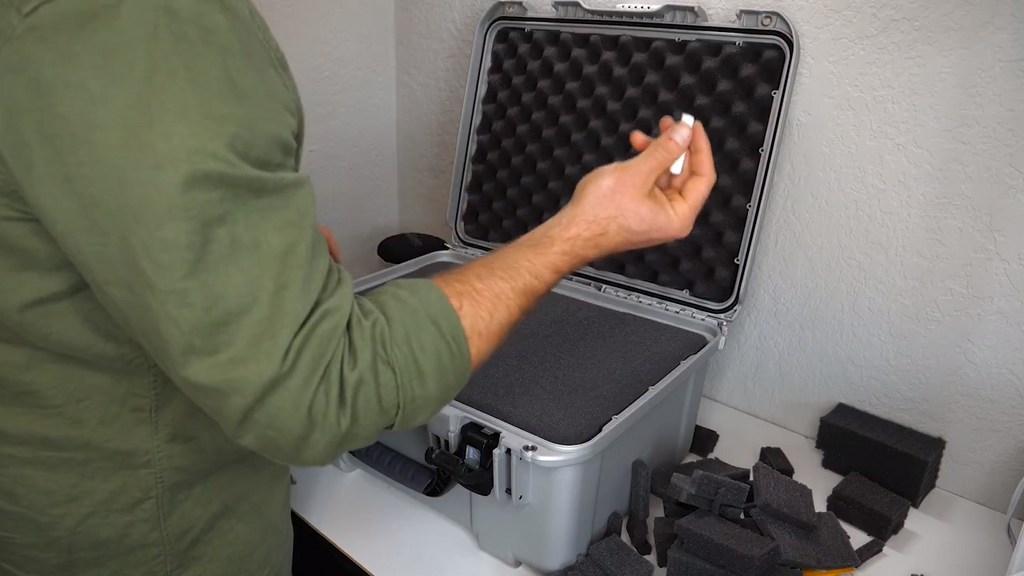
The last thing that I want to show you before I sign off is Nanuk case-specific, and this comes in the form of a lid organizer. So, these cases will ship just regular foam, and this foam protects from impact onto the lid, right? What if you want even more space for random cords and batteries, you know, lens covers that kind of thing.
Well, Nanuk has a solution for that. They have these totally nifty lid organizers. So, I went ahead and I just basically took the Velcro off of the lid that it comes with and I stuck them to the lid and now this thing just kind of inserts and secures with a couple of different screws, just like so.
Now, because you’re screwing metal over plastic, you don’t want to over-tighten these things because this screw will go through the lid, so you have to be a little bit careful. You know, just a little bit of torque, not too much. And just like that, you have an absolutely awesome system for keeping your gear safe.
You know this little lid organizer maybe this is a better place for throwing a couple of my lights, you could throw some memory cards in here, you know that kind of thing, looks like maybe there’s a slot for a laptop and it still closes with all that stuff in there.
And I’m gonna take a wild guess that you can still probably keep this foam in here for extra protection and it’ll still seal. Now, I don’t know if that part is Nanuk-sanctioned so don’t take my word for it.
I might have to do some experimenting because you want to put too much stress on the edges of the case, that said, it does close with that foam in there. So, maybe that’s something worth looking into, otherwise, maybe just a cloth, maybe that’s a better way to do it. And then, and that seems to close a little bit better.
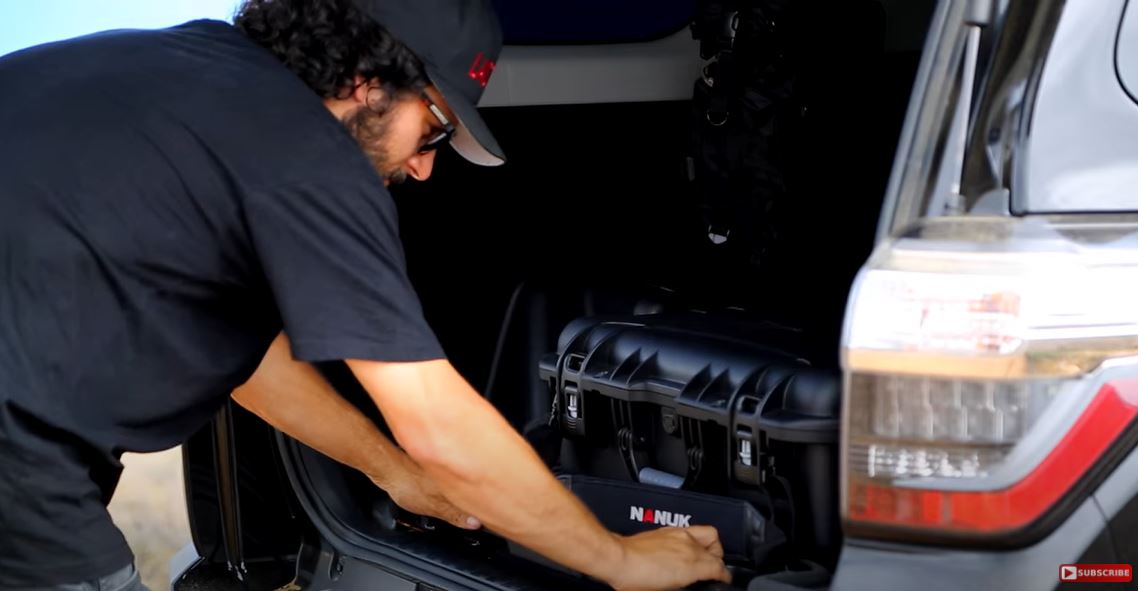
Alright, I think that’s it. That’s all, that’s how you set up a brand new pick-n-pluck foam case. Thanks so much for helping, I hope this has been helpful. If you want to see more about Nanuk, I’ll also link a couple of videos below. I’ve done some pretty crazy things in this thing – I put a drone in one and threw it into the ocean.
Then I put a DJI gimbal in another one of these and threw it off a really tall pier and both times my gear was absolutely safe. No water damage, whatsoever, and so like I said at the very beginning - I've tested these things firsthand and I trust them. So now, you know.